
Description
This is the description on how to create and add a Target classification schema file. A Target Schema is used for having a classification system that classifies the items, that will be send to your system after sending the shopping cart.
Step-by-step guide
To create and fill the target schema file, please use the template on the right side of this wiki page.
Following is a description of the Excel file and their columns:
|
Column |
Description |
|---|---|
|
ClassID |
This is the classification ID you want for the target schema. You can create a hierarchy with this column and the column ParentClassID. |
|
ParentClassID |
Please name here the ClassID on the above knot, so the parent knot. With this column you can create a hierarchy. |
|
ClassDescription.DE |
This column is for the name of the ClassID. You can create more column with the name ClassDescription. with the language code behind the point to have several translations for the ClassID. |
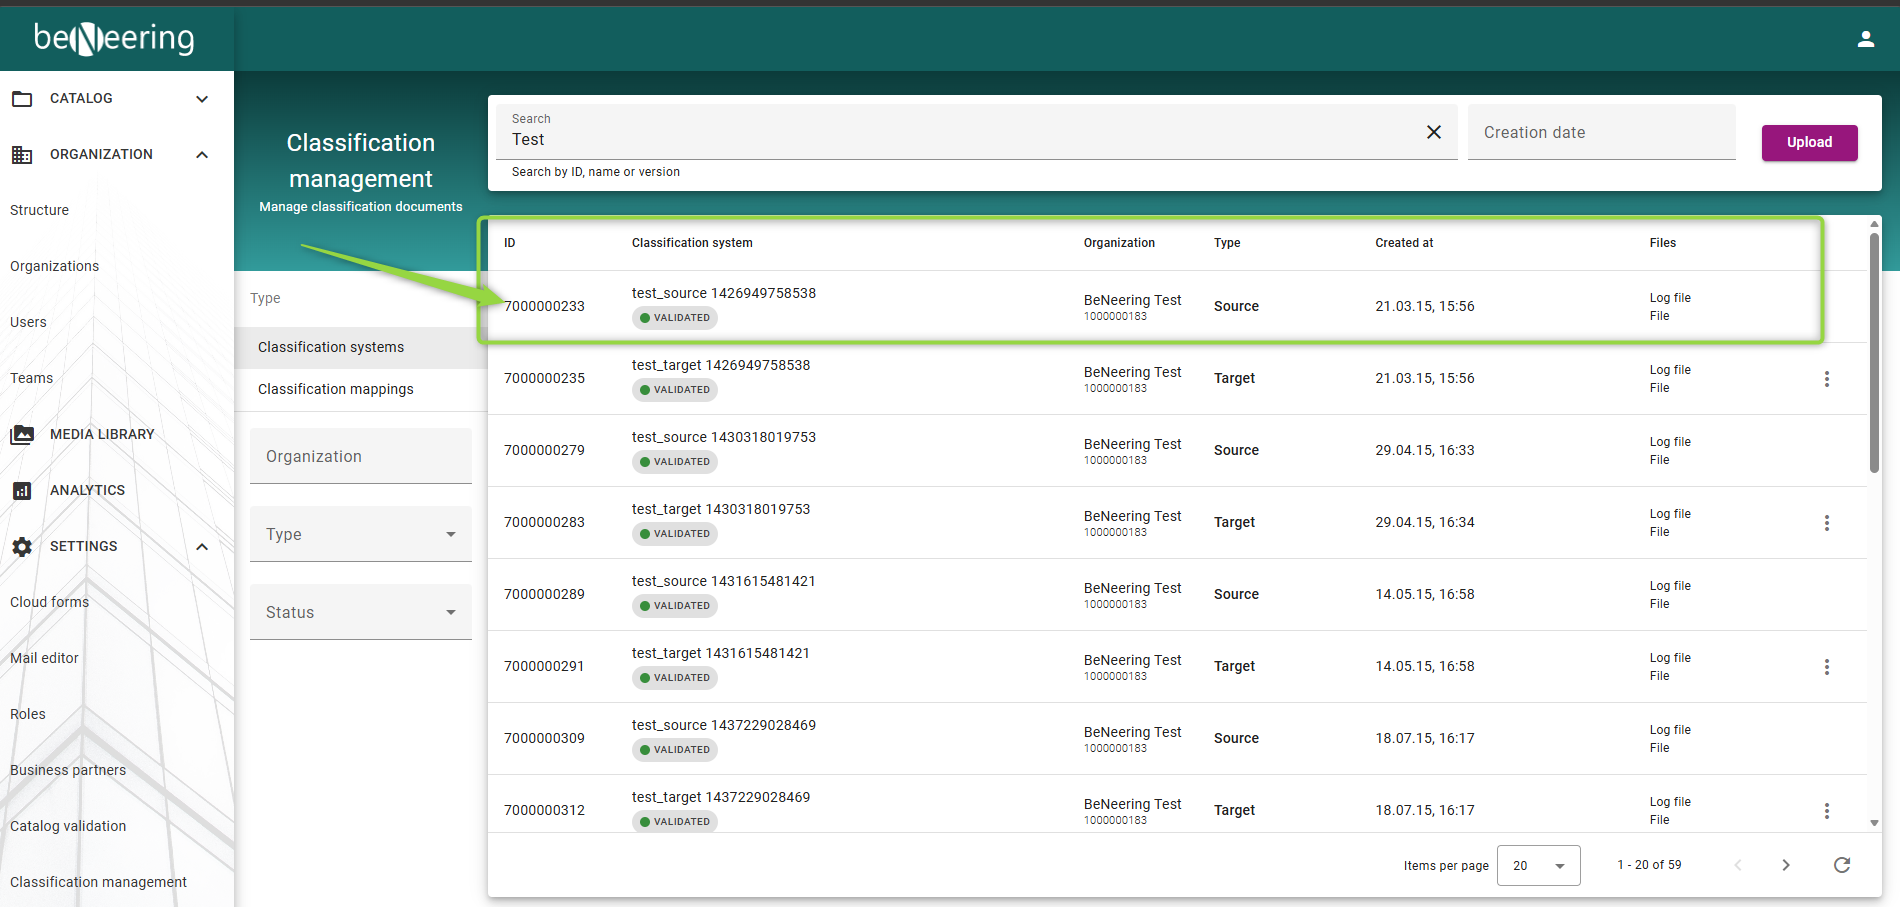
To upload a target schema, following steps have to be taken:
-
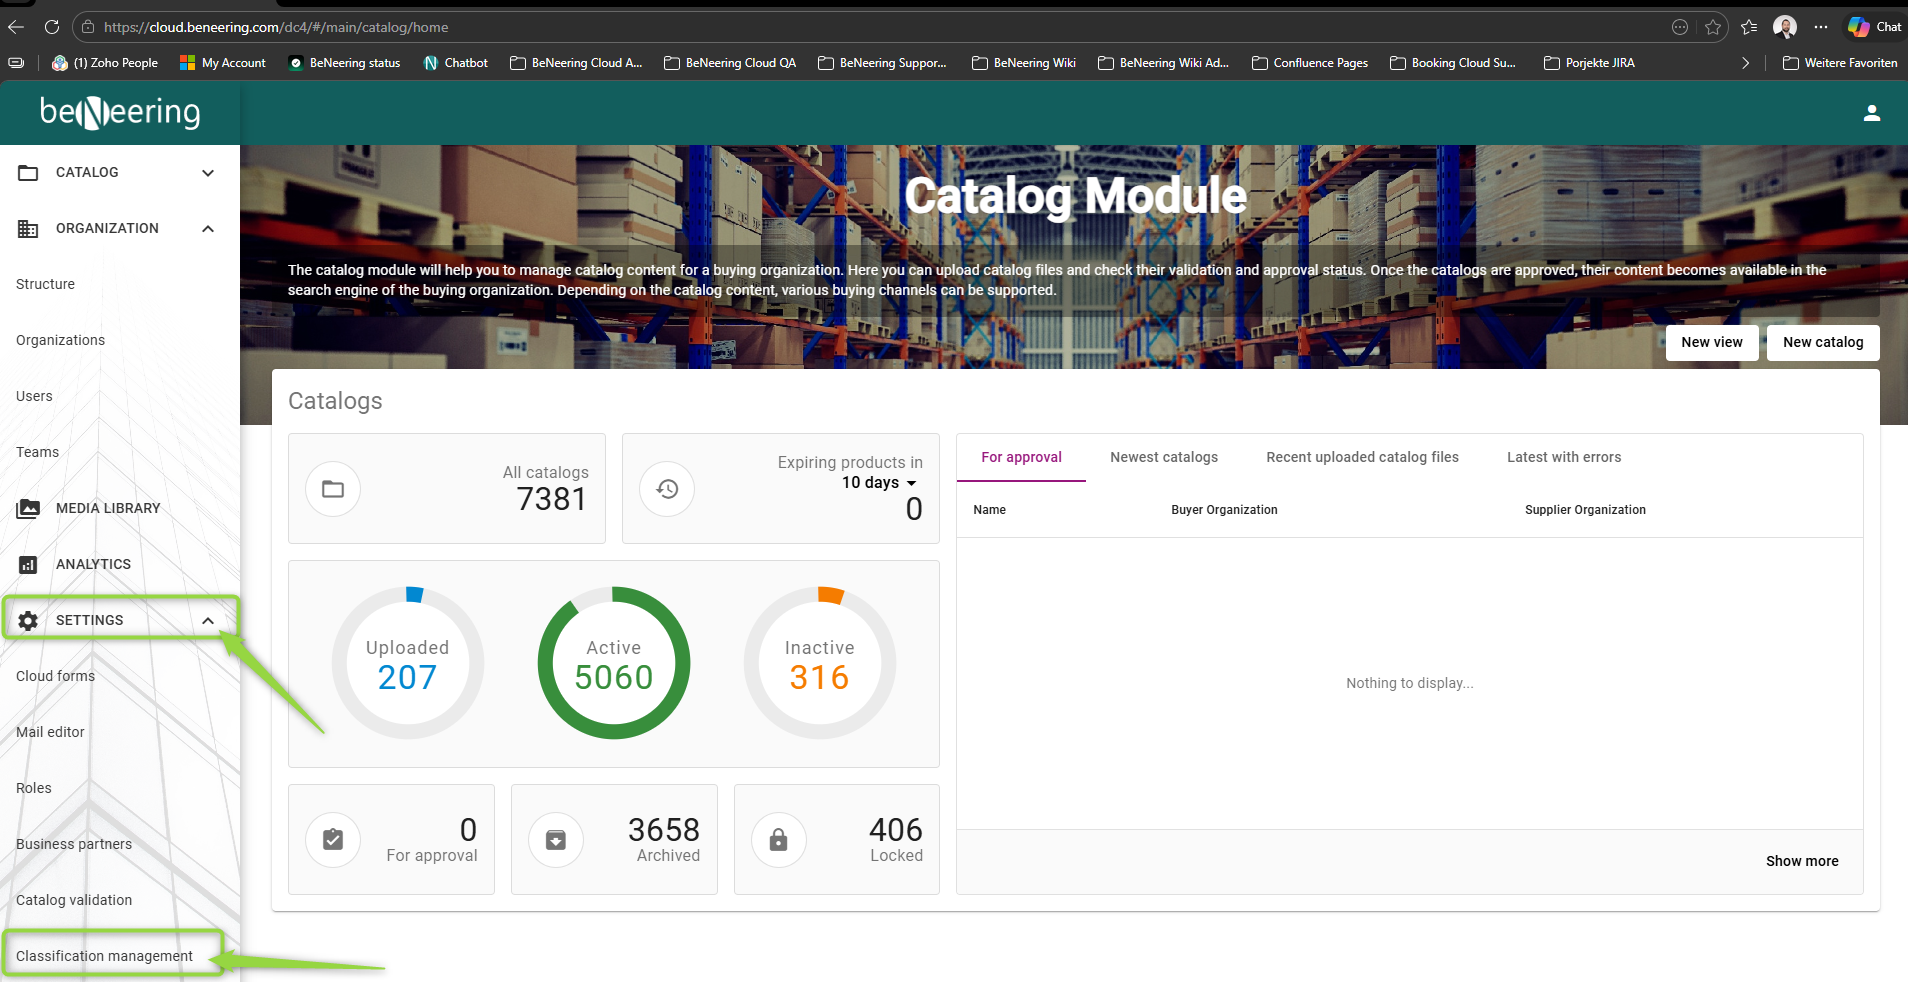
Navigate to Settings section
-
Select Classification management from the dropdown menu
-
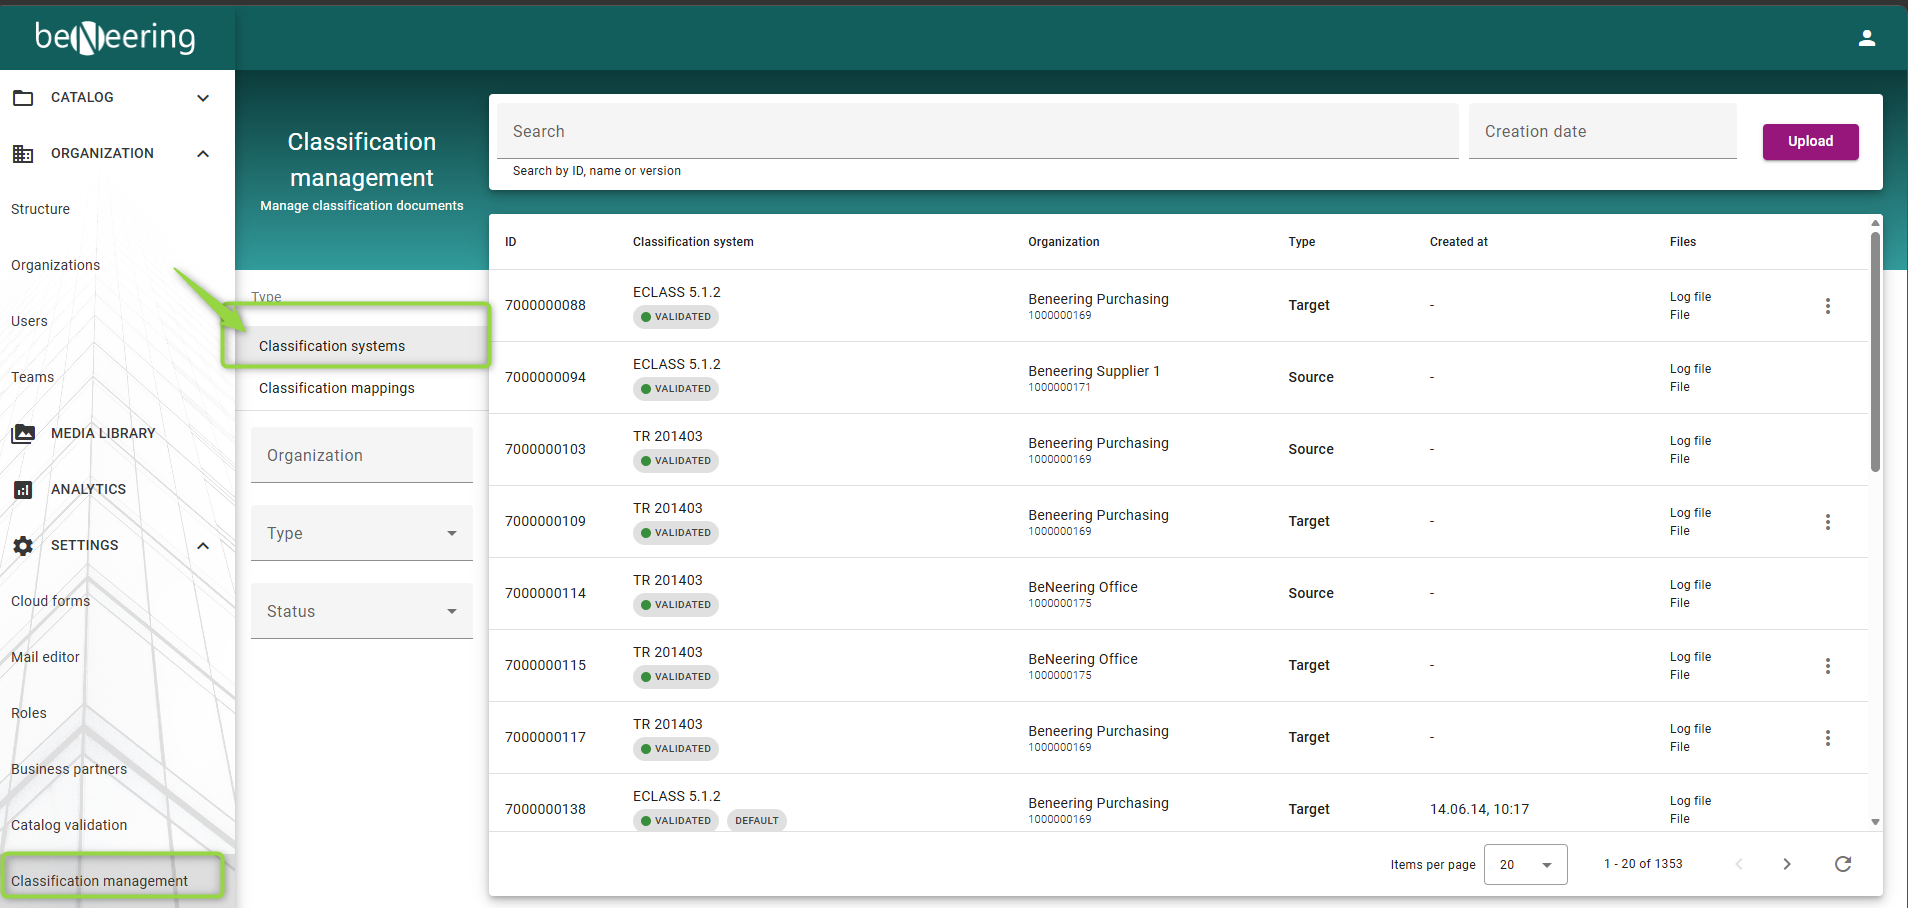
Go to classification systems
-
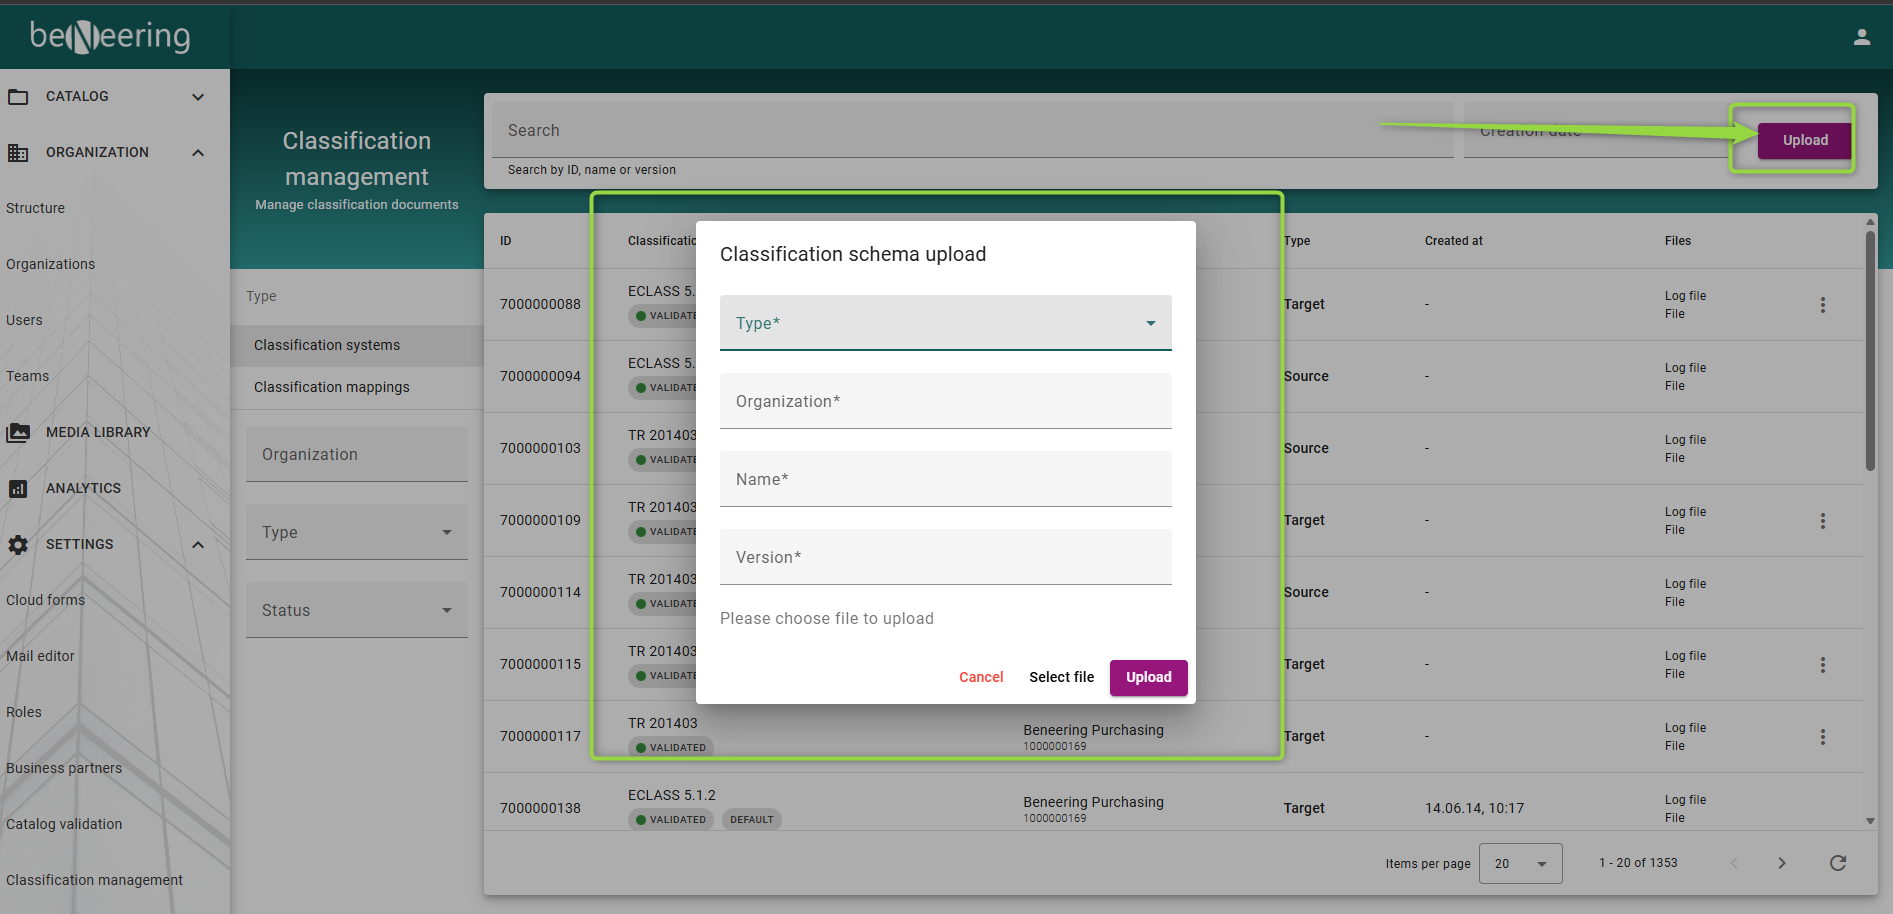
Select the Upload Button to Upload your file:
-
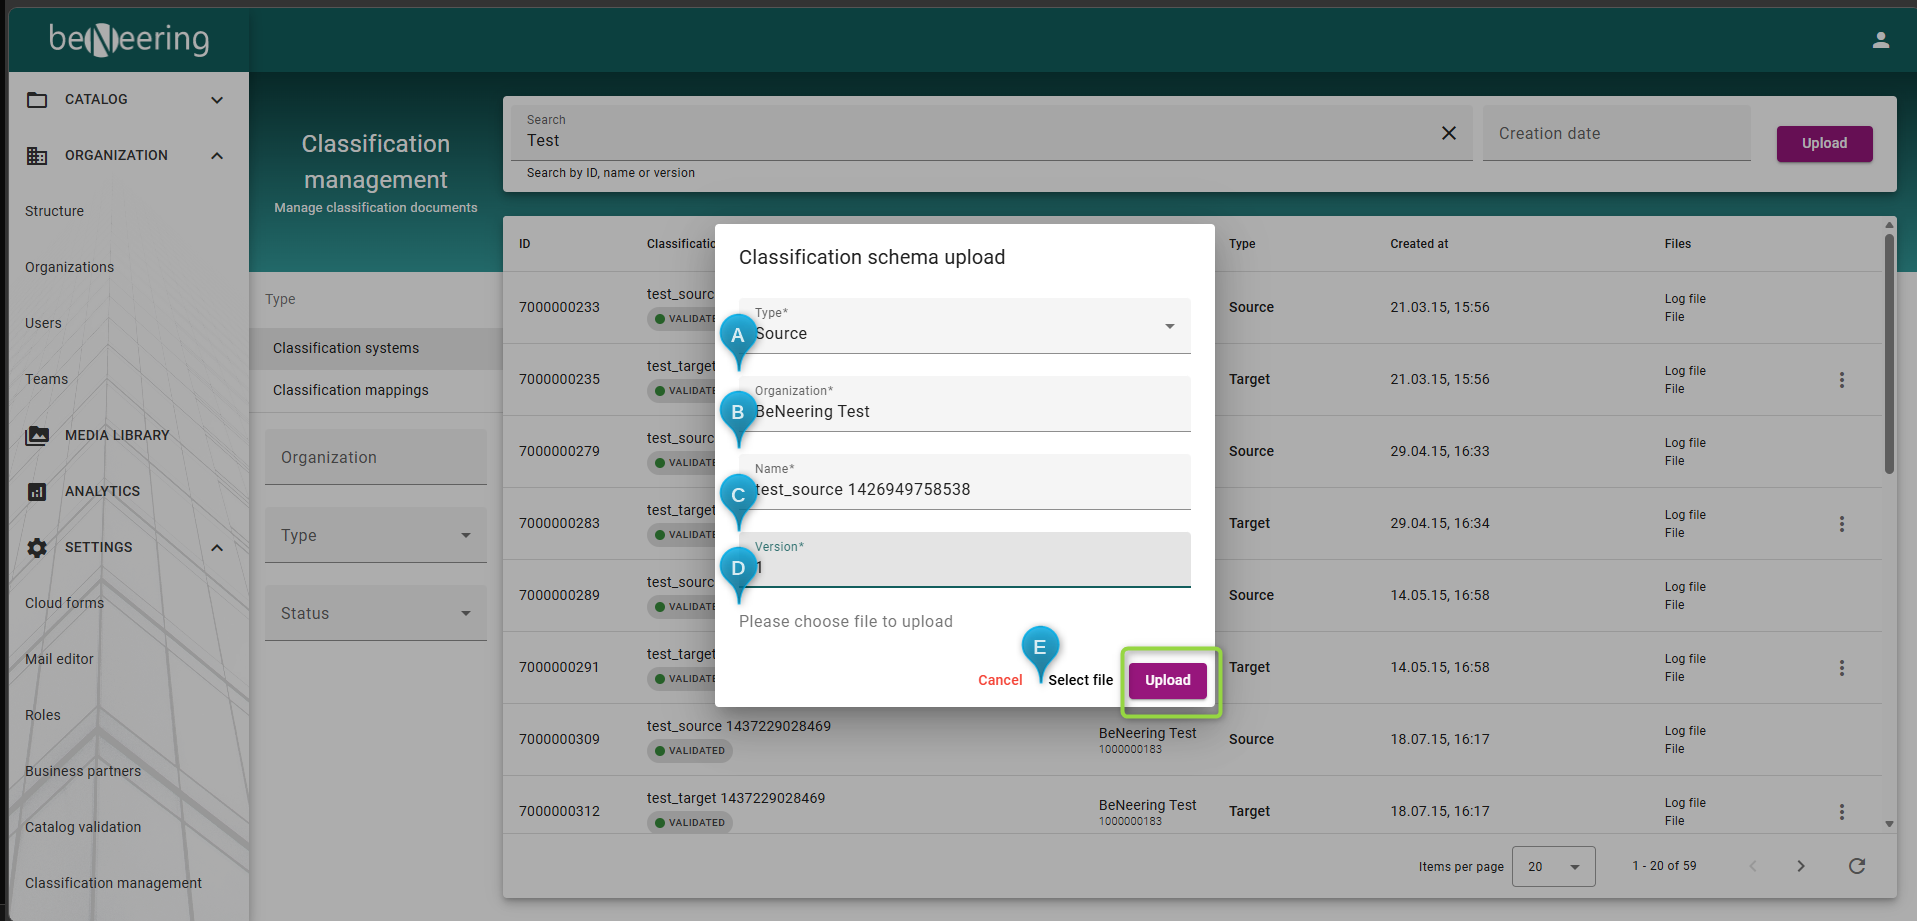
Fill out the needed information:
a) Type: Guided buying, Source, Target
b) Your organization
c) Choose a Name
d) Choose a version number
e) Select your file over “Select file” Button
-
Click Upload file and wait for file to be validated:
In case of VALIDATION_ERROR see the log file or navigate to the further part of this document – Dealing with Error Messages